
Fast Runners
High speed, low HP. Counter with slows and splash near bends; don’t overinvest single-target.

Place, Upgrade, Survive.
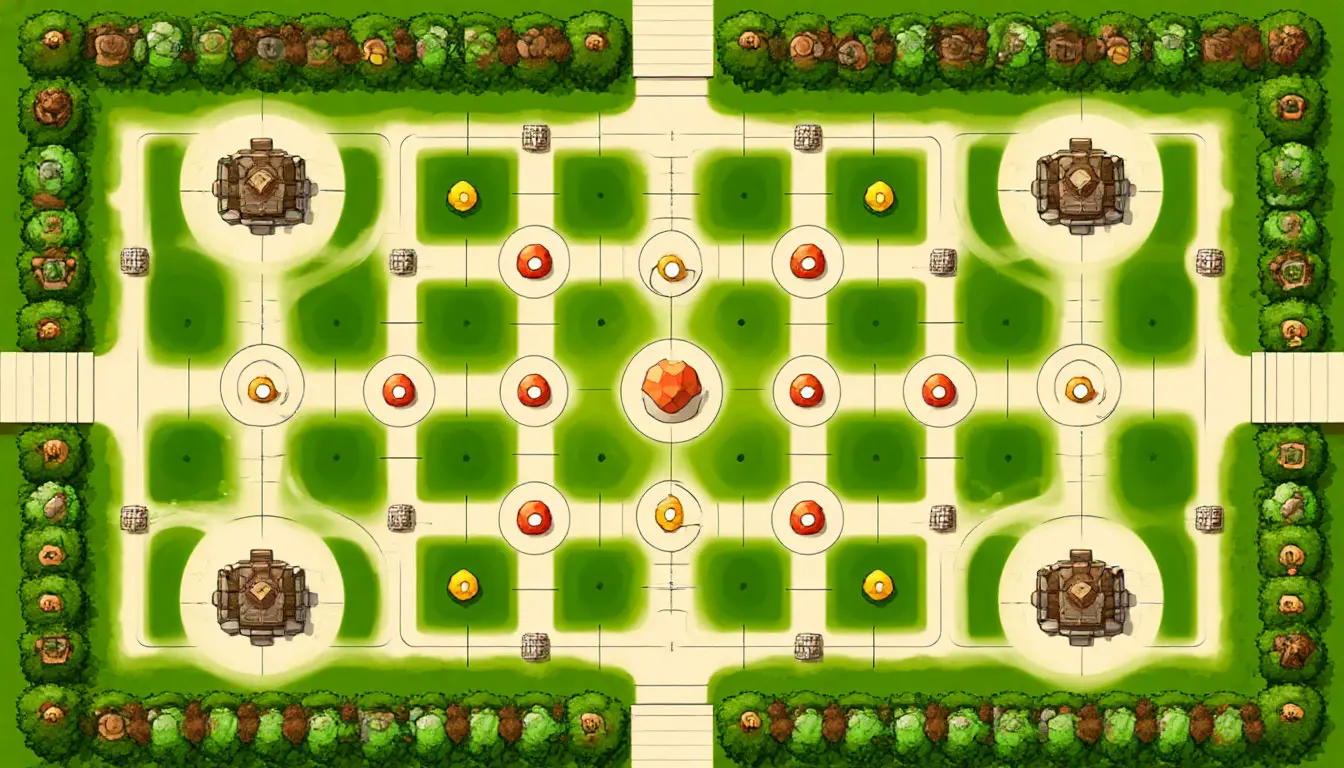
Early waves reward broad coverage; later waves reward focused, upgraded anchors with support.
Defeating enemies grants coins; elites and bosses drop more. Surviving with minimal leaks increases consistency across runs.
Wave streaks bolster income, so covering weak lanes early prevents costly spirals later.
Allocate coins on key anchors first, then support: slows, armor shred, traps. Invest where an upgrade clears specific enemy thresholds.
High speed, low HP. Counter with slows and splash near bends; don’t overinvest single-target.

Low speed, high HP/armor. Counter with armor shred, crit scaling, or sustained DPS anchors.

Numerous, fragile. Counter with early splash or choke-point traps and beam AoE coverage.
Wave composition escalates from mixed fodder to elites and boss-style pushes. Read wave previews and adjust lanes between rounds.

The egg hatches after key milestones are met—typically a mix of wave clears and stability checks. Hatching grants a mid-run spike and unlocks unique abilities.
Front-loads power to clear thresholds early. Risk: weaker economy can stall mid-run without a hatch spike.

Coins now for compounding later. Risk: early leaks if coverage is thin; requires precise placement.
Slows and stuns create reliable chokepoints. Risk: boss armor and resistances can outscale if damage lags.
Drafts encourage experimentation—lean into synergies that your map and wave set reward.
Occasional surges introduce elite formations or boss pushes. Prepare by banking coins, pre-placing slows at bends, and upgrading anchors to hit crucial damage thresholds. If a lane collapses, reposition support between waves rather than chasing sunk costs.
Wave: A timed enemy group with defined traits and rewards.
Perk: A drafted bonus that shapes build direction each run.
Hatch: Mid-run milestone when the egg becomes a chicken warrior.
CC (Crowd Control): Slows, stuns, traps that manage groups.
Splash: Area damage affecting clustered enemies.
Range Falloff: Some units deal less damage at max range.